


Wrapping Your Vehicle: A Step-by-Step Guide from Decision to Driveway for Clayton and Raleigh Owners
A vehicle wrap can transform your car, truck, or SUV without a permanent color change, but the best results start well before the film reaches your vehicle. Paint condition, film choice, preparation, installation, and aftercare all affect how your wrap looks and lasts.
We believe a successful wrap is a step-by-step project, not just a color selection. Here’s what Clayton and Raleigh owners can expect, from the first conversation to the first wash.
Step 1: Decide whether a wrap suits your vehicle
Start with your goal. Are you looking for a full color change, a distinctive matte or satin finish, commercial branding, or a smaller accent such as a roof or hood? A full wrap creates a dramatic change, while a partial wrap can make a statement on a defined section or provide space for business graphics.
Next, take an honest look at the paint. Wrap film follows the surface beneath it. It won’t hide dents, deep scratches, rust, peeling clear coat, or other flaws. In some cases, the film can make imperfections more noticeable. Existing paint damage may also affect adhesion and removal.
That’s why a professional assessment matters. Before planning a car wrap in Clayton NC, ask the installer to inspect the paint and discuss any repairs or limitations. Fresh paint may also need additional time to cure; follow the paint manufacturer’s guidance and your installer’s advice before applying film.
A wrap changes your vehicle’s appearance, but it isn’t a substitute for paint protection film (PPF) when impact protection is the priority. If you’re weighing finish and protection options, our guide to vehicle wraps explained is a helpful place to start.
Step 2: Choose film and finish for your goal
With your vehicle assessed, select a film that fits both your style and how you use the vehicle. Gloss can deliver a polished, paint-like shine; matte and satin create a more understated look; metallic finishes add depth and visual impact. Commercial wraps may use printed graphics, brand colors, lettering, or a combination of these.
The right choice involves more than color. Consider the vehicle’s curves, how much coverage you want, how the finish will look in different lighting, and what care it requires. A complex design or printed graphic can also add planning and production time.
We like to help customers balance visual impact with practical ownership. Ask the installer which film series is being considered, how the finish should be maintained, and whether the design needs to work around door handles, sensors, trim, or other details.

Step 3: Plan the design and installation
Before installation, confirm the scope: full or partial coverage, the selected film and finish, graphic placement if applicable, and how the installer plans to finish edges and seams. For commercial graphics, approve the artwork and layout before production.
This is also the time to discuss disassembly. Depending on the vehicle and the design, an installer may remove items such as handles, badges, mirrors, or trim pieces to create cleaner film edges. Not every part needs to come off; the approach depends on the vehicle and the desired finish.
Ask how long the job is expected to take and what could affect the schedule. Vehicle size, body shape, design complexity, printed graphics, paint repairs, and the amount of disassembly can all make a difference.
Step 4: Prepare the surface carefully
Good preparation is essential. The vehicle needs a thorough wash and decontamination to remove road grime, residue, and other contaminants. The installer will pay close attention to edges, seams, recesses, and trim areas where dirt can interfere with application.
The surface should be clean and dry before film goes on. Pollen, dust, wax, sap, and moisture can undermine a clean result or become trapped beneath the film. In North Carolina, spring pollen can build up quickly, so timing and proper shop preparation matter.
Step 5: Apply the wrap panel by panel
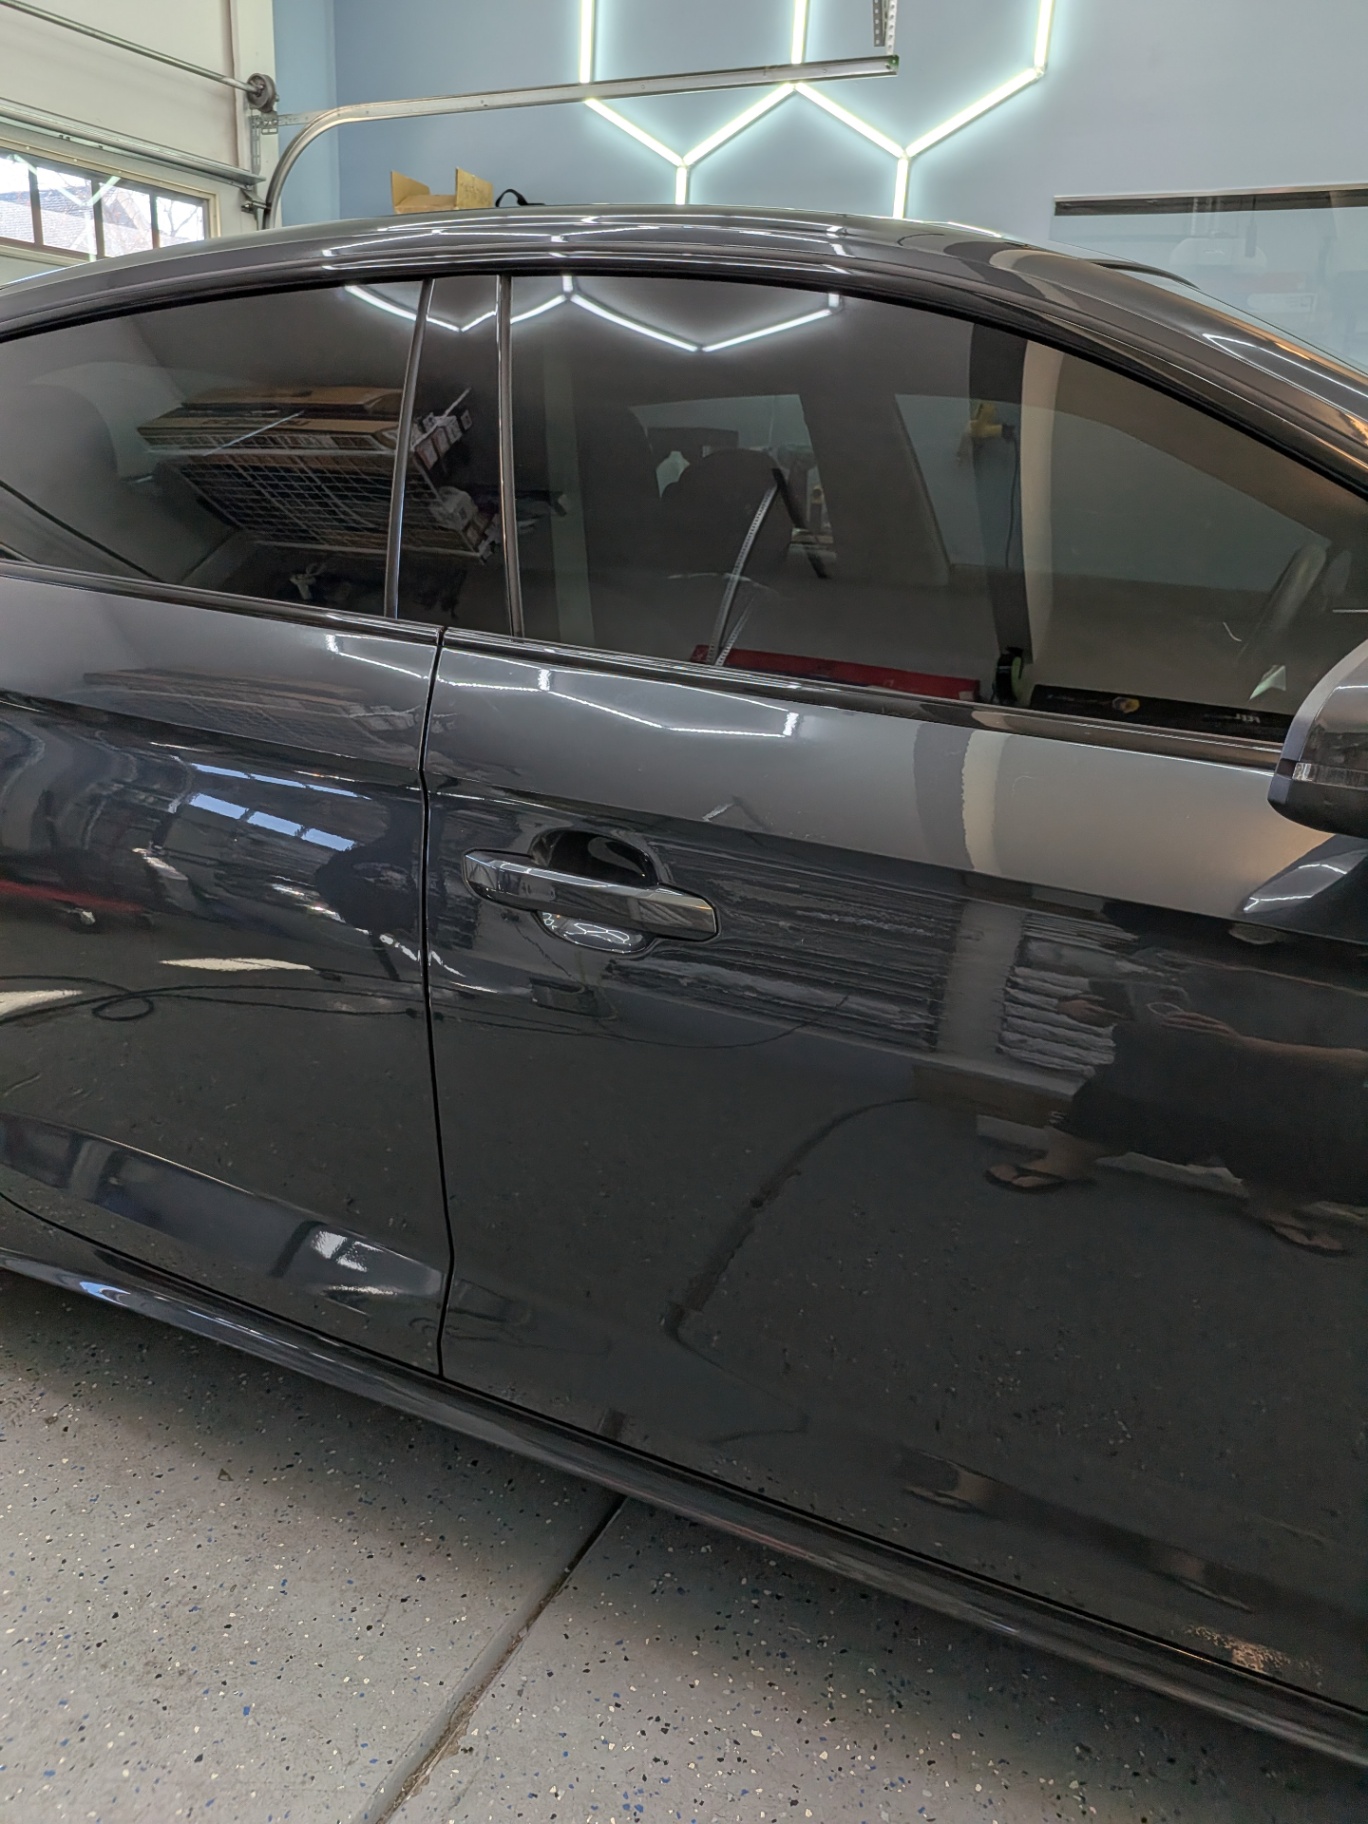
Once the vehicle is ready, the installer positions the film and applies it in sections. Each panel requires careful alignment and handling, especially around curves, recesses, corners, and other contours. The film is worked onto the surface with the appropriate tools and technique, with close attention to smooth contact and clean edges.
This is precision work. Rushing or stretching film incorrectly can affect the appearance and how well it stays in place. Complex areas may need more time and attention than broad, flat panels.
After the film is applied, the installer post-heats and re-presses areas that need extra attention, then checks the finish for issues such as wrinkles, bubbles, lifting, or misalignment. The exact procedure depends on the film manufacturer’s instructions and the vehicle.
Step 6: Allow time for inspection and stabilization
A partial wrap may be completed in a day, while a full vehicle often takes roughly two to three days. That’s a general estimate, not a promise: larger vehicles, intricate designs, graphics production, extra disassembly, or paint concerns may extend the schedule.
Before pickup, ask what the installer inspected and whether any follow-up is recommended. Also get clear, film-specific instructions for the first few days, including when it’s safe to wash the vehicle. For example, 3M’s wrap maintenance guidance provides care information for its film; recommendations can vary by product.
Step 7: Care for your wrap in the first week and beyond
Give the adhesive time to stabilize. Follow your installer’s directions about washing, and avoid directing pressure at film edges while they settle. As a general habit, don’t use brush car washes: brushes can be abrasive and may catch at edges.
For regular cleaning, rinse away loose grit first, then use clean water, a soft microfiber mitt, and a mild, pH-neutral soap. Rinse thoroughly and dry with clean microfiber to help limit water spots. Avoid abrasive tools and harsh compounds, and check with your installer before using wax or other products, especially on matte, satin, or textured finishes. Avery Dennison’s vehicle-wrap application guidance is another reference, but always follow the instructions for your specific film.
Clayton and Raleigh drivers should also watch for pollen, tree sap, insects, and bird droppings. Clean contaminants promptly rather than letting them bake onto the surface in the sun. Parking in a garage or shaded area when possible can help limit prolonged sun exposure, particularly on horizontal surfaces such as the hood and roof.

Step 8: Address damage before it spreads
Check the wrap periodically for lifting edges, bubbles, cracks, discoloration, or damage. If you notice a concern, contact the installer early. Avoid trying to glue, trim, or press down a damaged edge yourself; that can trap dirt or make a larger repair more difficult.
Depending on the type and location of the damage, a small area may be repairable, or the affected panel may need a partial rewrap. A replacement piece can be a practical solution for a bumper, mirror, door, hood, or roof. However, a new section may not perfectly match older film that has been exposed to sun and weather. Film series, finish, texture, age, and color all affect the result.
Complete the transformation with the right services
A wrap can be part of a broader vehicle upgrade. Many owners pair a new exterior look with Window Tinting Clayton NC or Ceramic Window Tint Clayton NC for a cohesive finish and added cabin comfort. Professional window film can complement a wrap’s style while helping manage sun and glare.
A suitable ceramic coating may also make some wrapped surfaces easier to clean, but compatibility depends on the film and coating. Confirm with your installer before applying a product. You can learn more about ceramic coating for vehicles, including options for ceramic coating Clayton NC and Raleigh NC drivers.
At Elite Window Tintz, we bring more than 20 years of experience, premium materials, professional installation, competitive pricing, and a 100% satisfaction guarantee to the work we do. We believe the best upgrade starts with clear expectations and careful planning, so your finished vehicle looks like the transformation you had in mind.
Comments